

- HTTP header modifications
- URL redirects
- Request and response body overrides
- Injecting custom CSS and JavaScript
What You Can Do with Requestly Interceptor in Automation For now
There are 2 main ways to use Requestly Interceptor in an automation environment:- Header Modifications, quick, one-off rules (no API key required)
- Import Rules via API Key, for predefined rules managed from your Requestly Interceptor account
Header Modifications
If you only need simple header overrides (without API key), like adding or removing request/response headers, refer to this page:Modify HTTP Headers →
Import Rules via API Key
1
Configure Rules in a Team Workspace and Get API Key
Start by creating the rules you want to use in a new team workspace. Once the rules are set up, request an API key for the workspace by filling out this form. The rules in this workspace will be automatically fetched and applied during the end-to-end (E2E) testing in the browser instance.
2
Install Chrome for Testing
Download Chrome for Testing, the automation-friendly version of Chrome.
Why Chrome for Testing?Starting with Chrome 137, official Chrome builds no longer support the
--load-extension flag due to security concerns. There commit →To load extensions in automation tools (Selenium, Playwright, Puppeteer, etc.), you must use Chrome for Testing or Chromium.Regular Chrome will block extension loading via automation. Use Chrome for Testing to avoid breakages and ensure compatibility.3
Install the Automation Tool of Your Choice
- Selenium
- Playwright
- Puppeteer
4
Download the Requestly Interceptor CRX Extension
Download the CRX file of the Requestly Interceptor Extension.
5
Configure the Browser with the Extension
Use your automation tool’s configuration options to:
- Set the path to Chrome for Testing binary
- Add the Requestly Interceptor CRX extension
- Selenium
- Playwright
- Puppeteer
For Javascript ( Node.js )For PythonFor Java
6
(Optional) Close Extension Welcome Page
When Chrome installs the Requestly Interceptor extension, it may open a “welcome” (post-install) tab that interrupts automation. You can close this tab programmatically:
- Selenium
- Playwright
- Puppeteer
- With NPM Package
7
Import Rules from Requestly Interceptor
Visit the following URL in your automated browser to import all active rules from your account: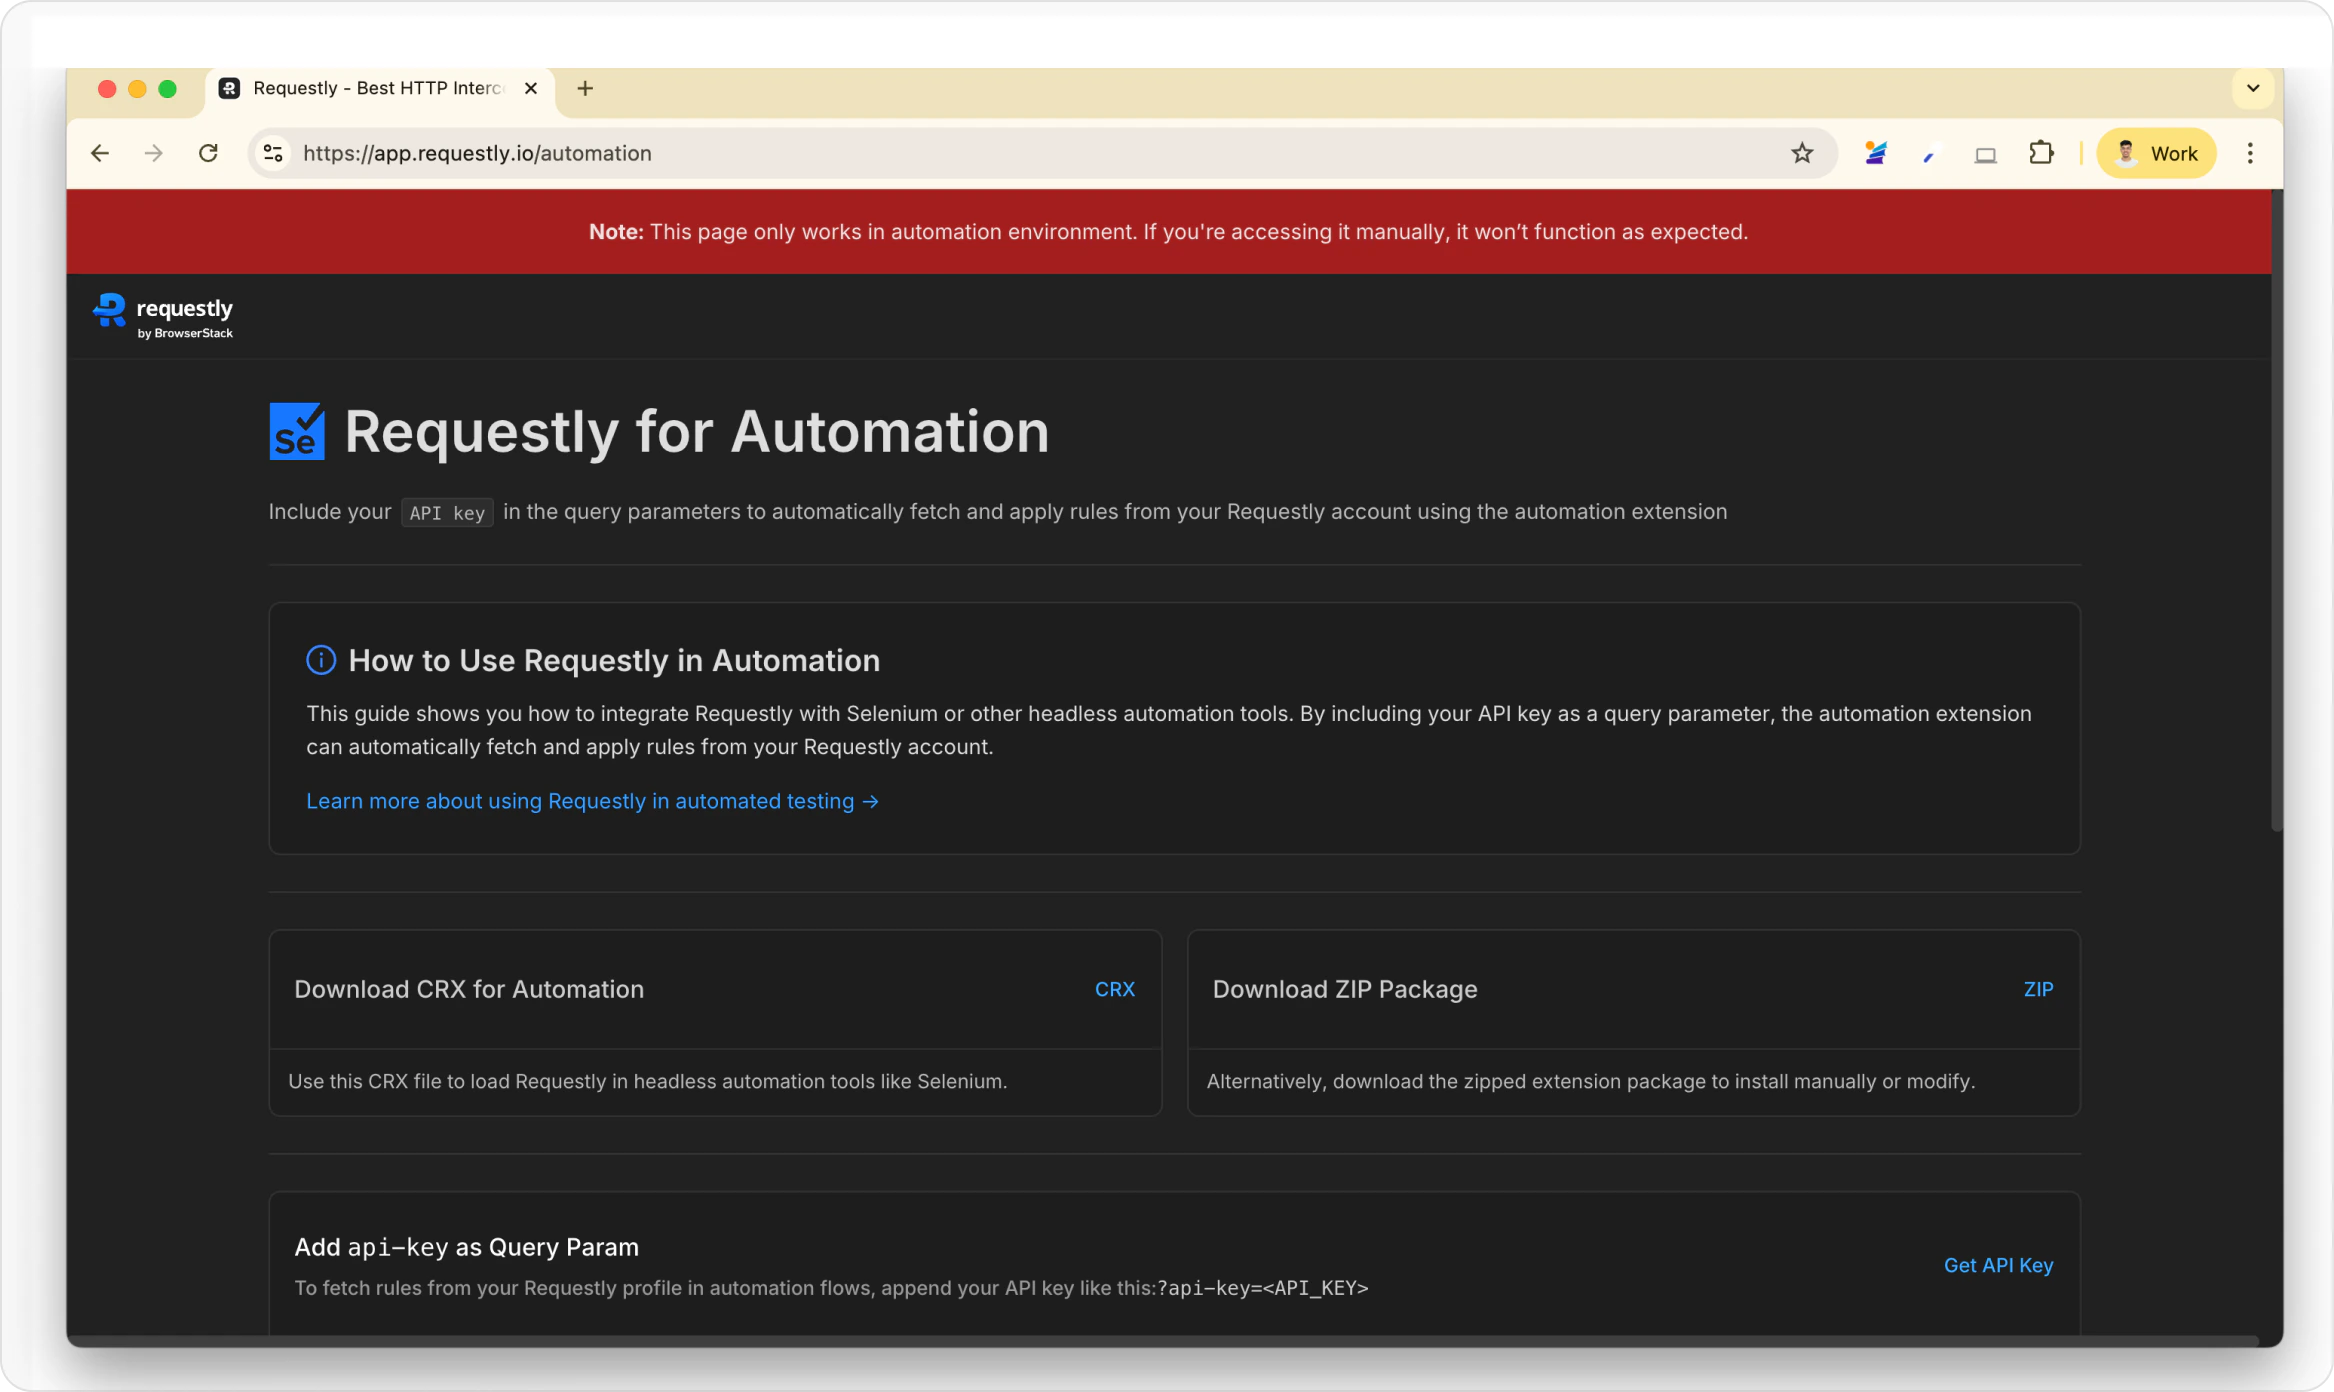
- Normal way
- NPM package